Are you ready to take your watercolor paintings to the next level? Look no further than the versatile wet-on-dry technique. This technique offers you more control over your brush strokes, allowing for detailed and vibrant artwork that will captivate the viewer. In this blog post, we will explore the beauty of the wet-on-dry technique and its endless possibilities.
What is the Wet-on-Dry Technique?
The wet-on-dry technique involves applying watercolor paint onto dry paper. Unlike the wet-on-wet technique where the paint flows and blends freely, the wet-on-dry technique offers sharper edges and precise details. By defining your brush strokes on dry paper, you can create intricate shapes and boundaries that remain intact.
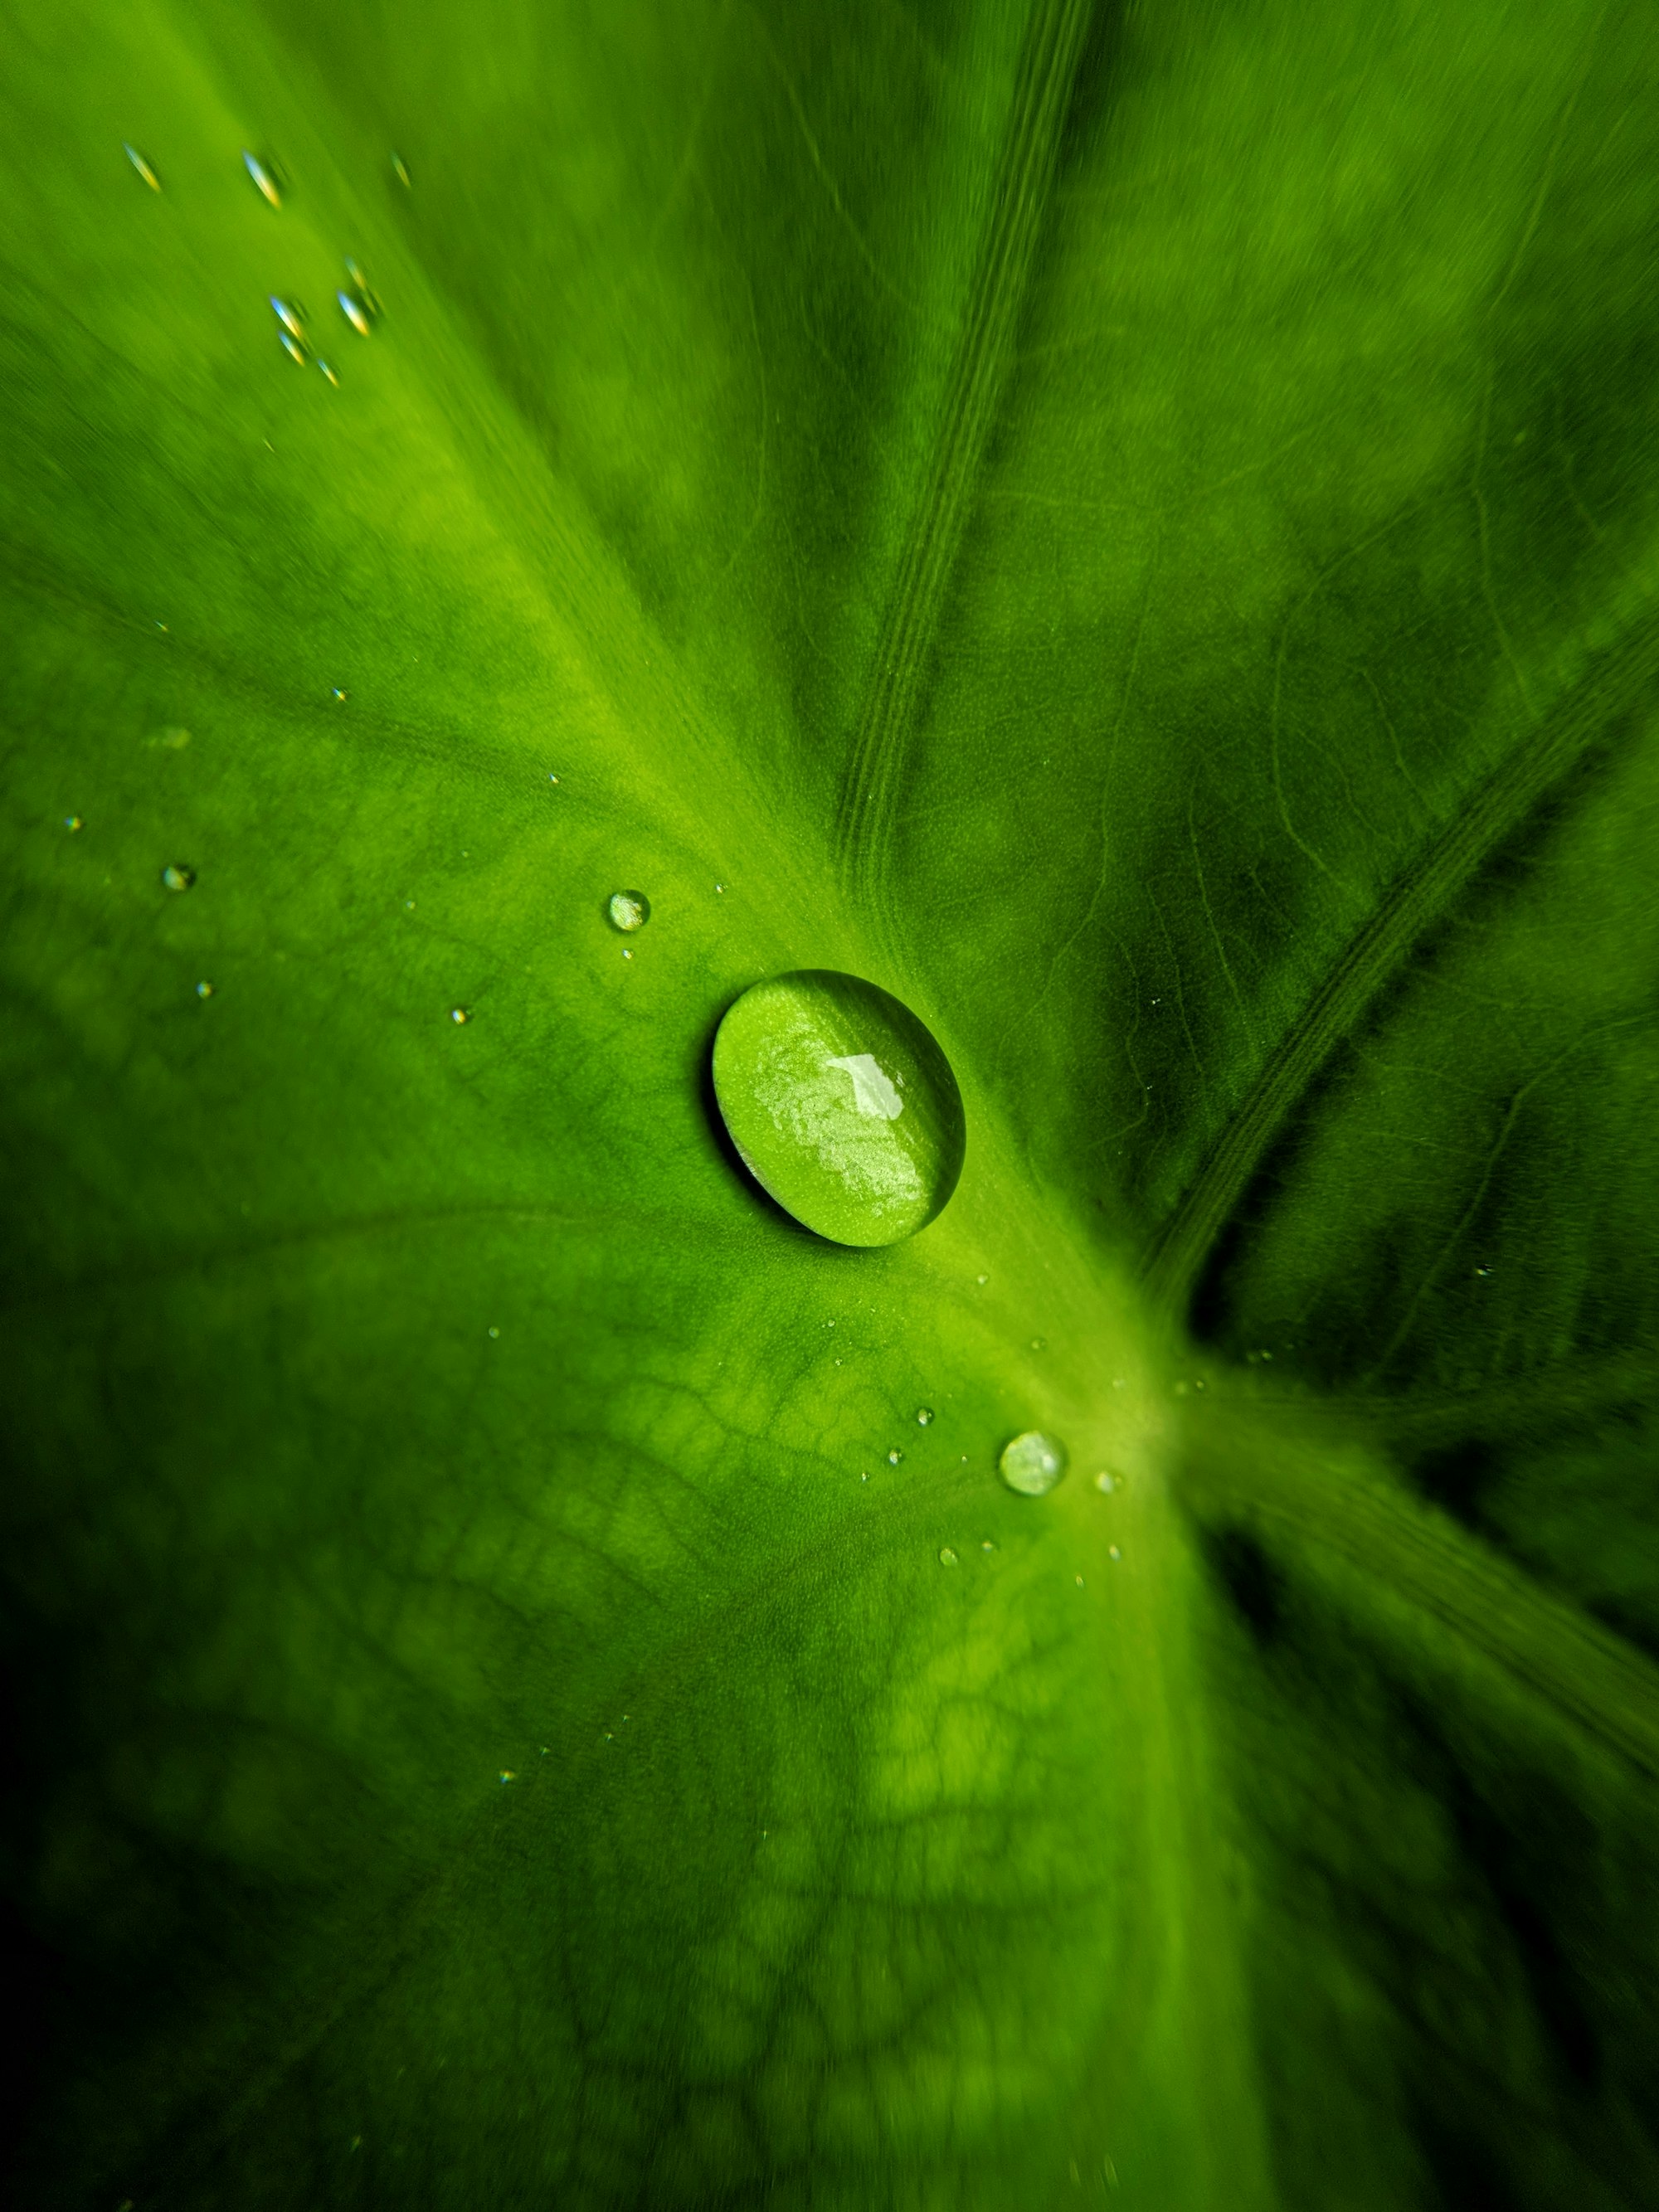
A drop of water on the paper does not stray from the surface tension of the paper. The shape is defined by your brush.
Enhance Your Details and Hard Edges
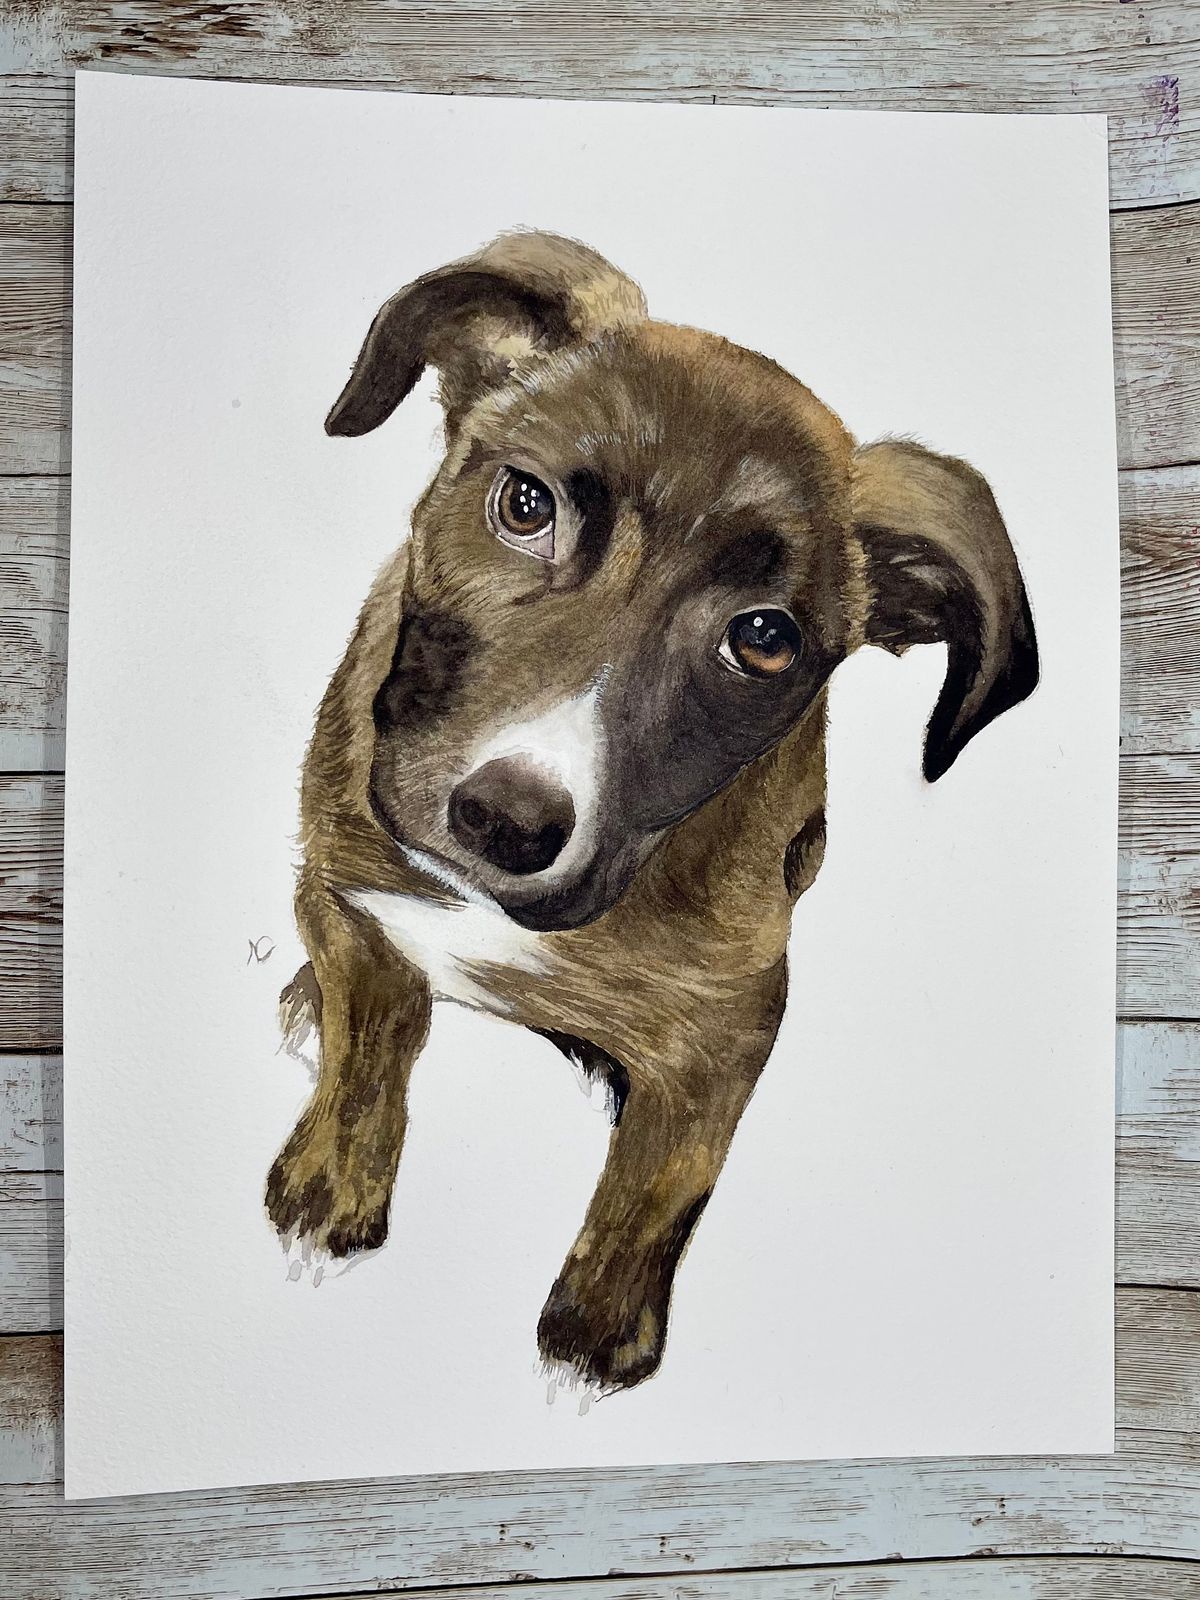
If you're striving for realism in your watercolor paintings, the wet-on-dry technique is your best friend. With this method, you can build up layers of details and hard edges, adding depth and dimension to your artwork. This technique allows you to gradually develop the desired values and intensify colors by applying additional layers.
Vibrant Colors and Saturated Washes
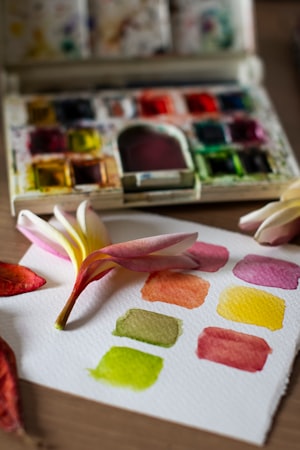
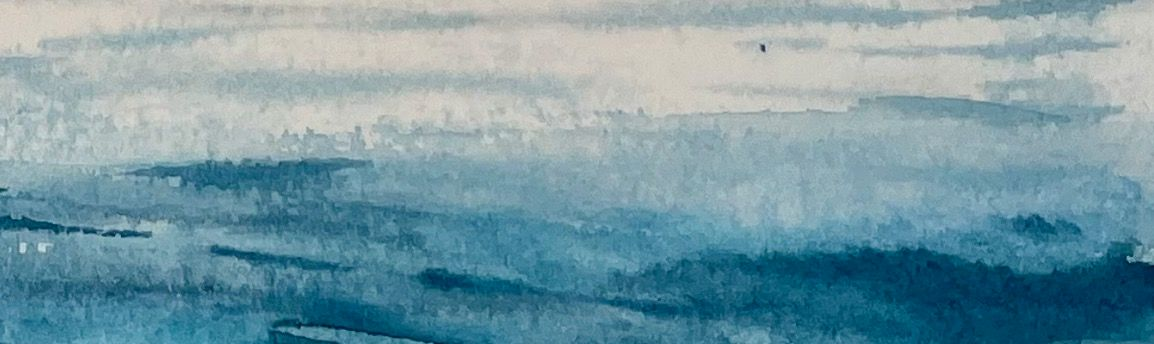
Imagine covering an area with a saturated wash without the dilution of water on the paper. With the wet-on-dry technique, you can achieve this stunning effect, resulting in vibrant and rich colors. To make the most of this technique, ensure you have enough premixed paint to create a smooth wash without running out mid-stroke. Prepare puddles of paint before starting to create a consistent and vivid application.
Unlock the Magic of Wet-on-Dry Glazes
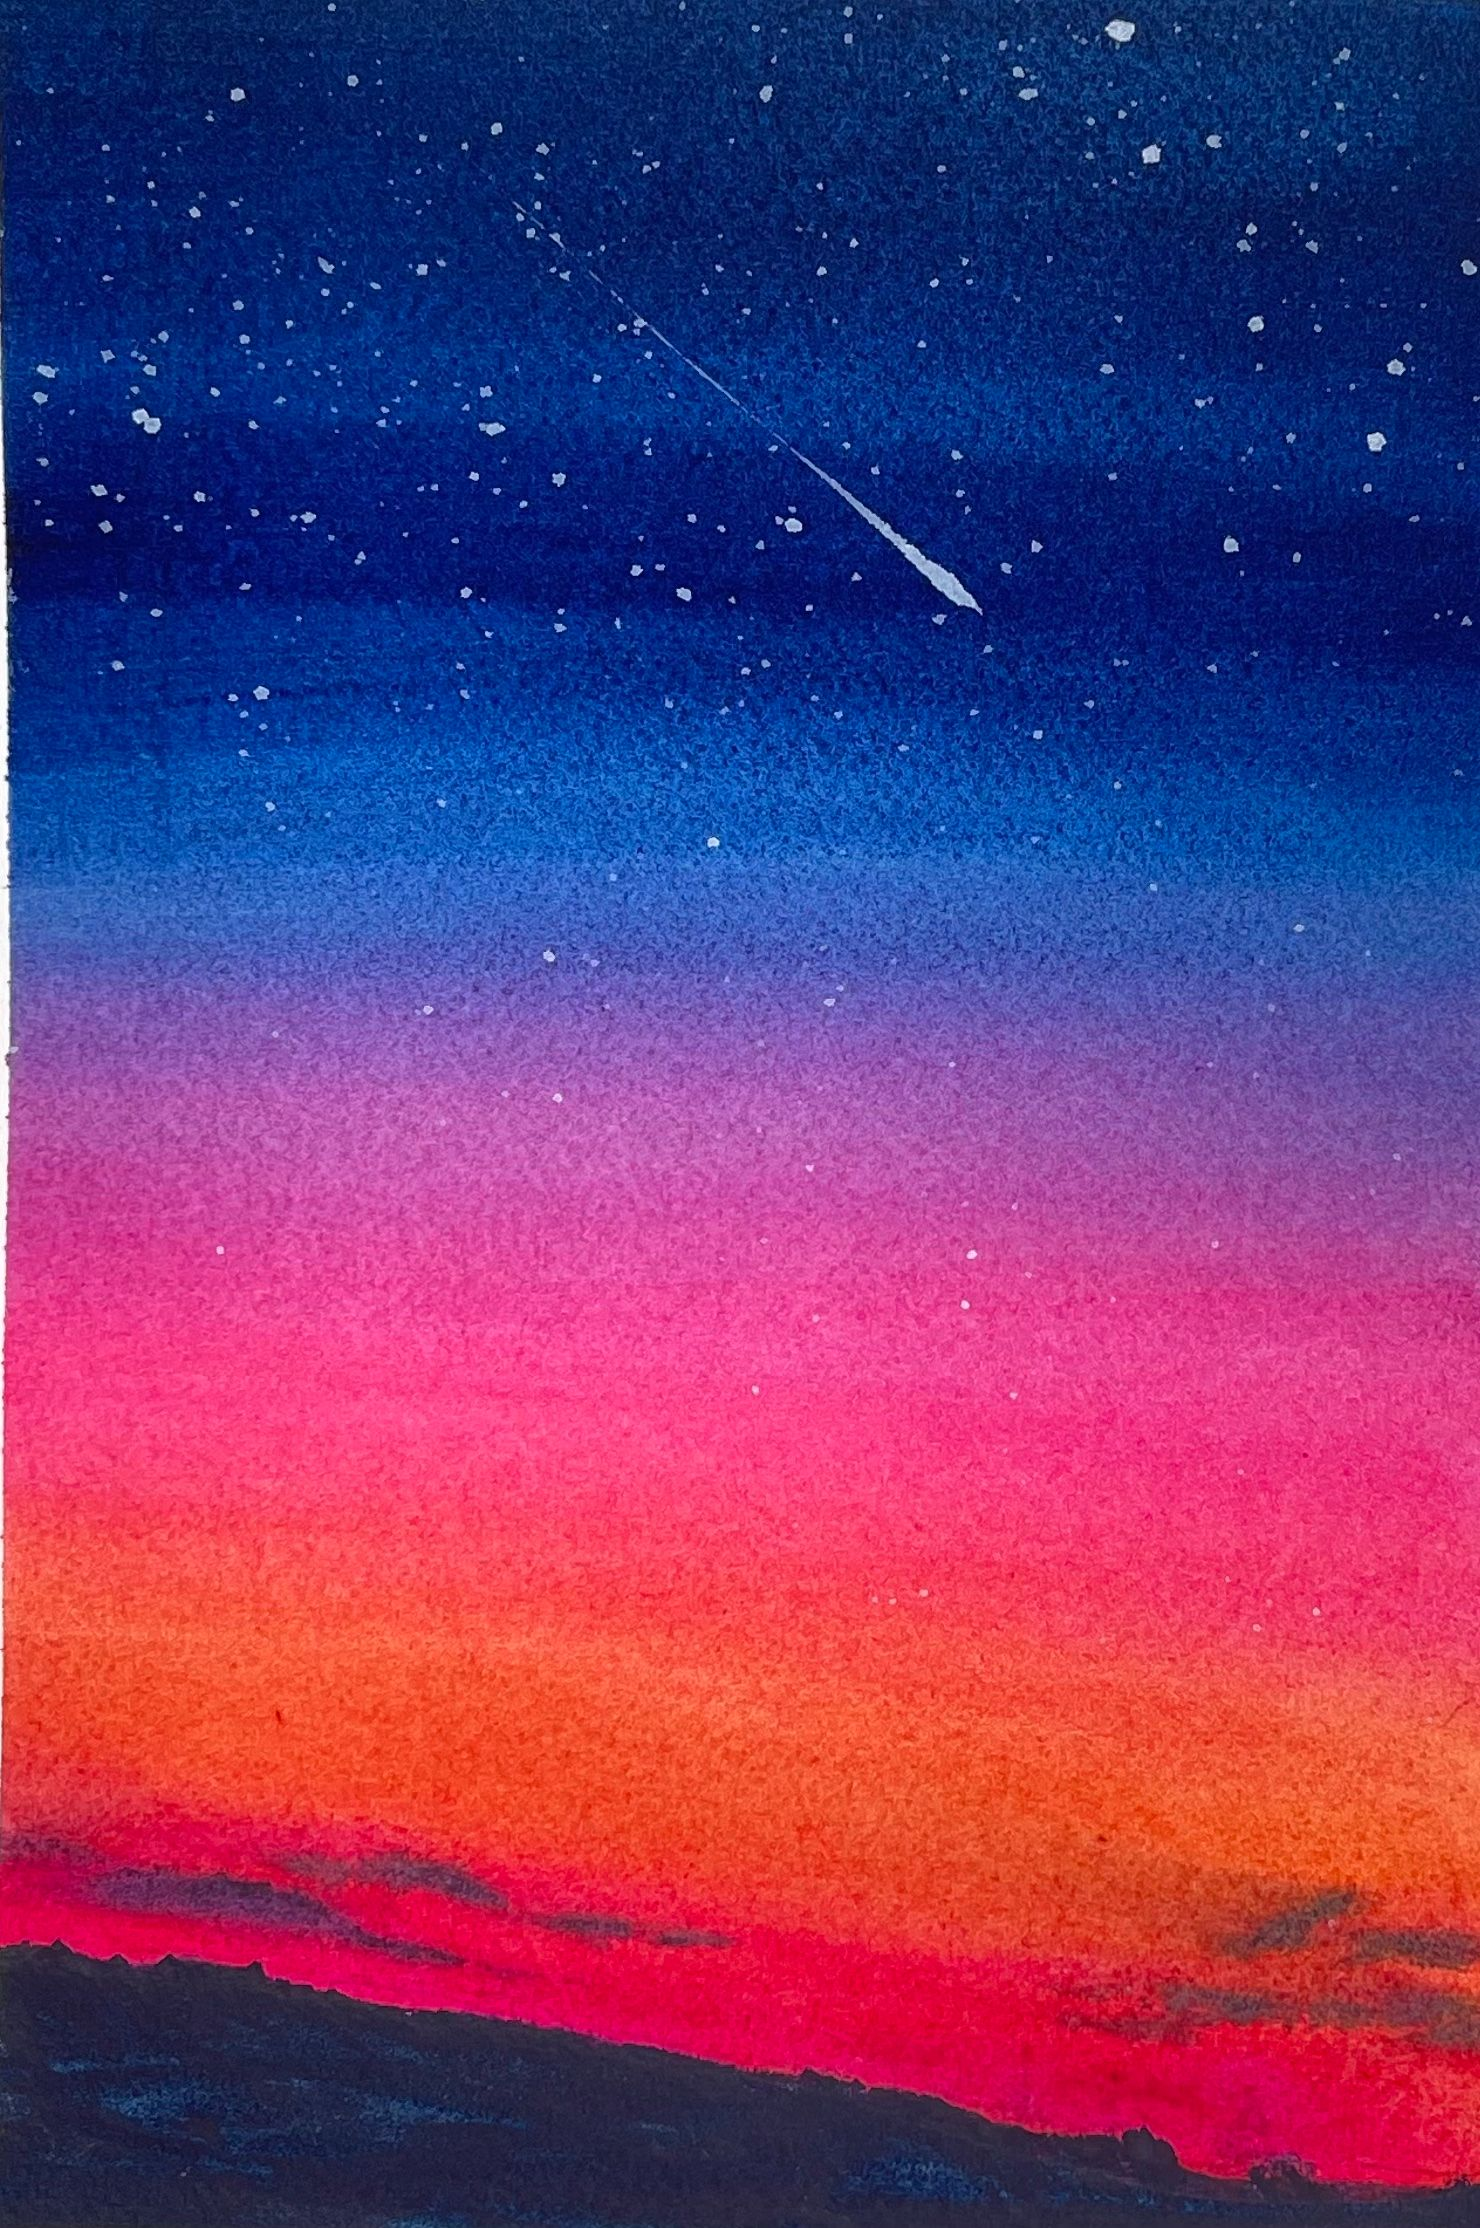
For those seeking to create layers and depth in their watercolor paintings, wet-on-dry glazes are a game-changer. This technique allows you to create transparent glazes of color, reminiscent of the beautiful hues found in stained glass. By carefully layering glazes on dry paper, you can achieve a mesmerizing effect that adds depth and visual interest to your artwork. It's a technique that beginners and seasoned artists alike will find enchanting.

Discover the Dry-on-Dry Technique
Another technique worth exploring is the dry-on-dry method, also known as dry brushing. With this technique, you use minimal amounts of paint on a nearly "dry" brush. To achieve this, lightly dab your brush on a piece of paper towel before applying it to the paper. The pigment is deposited in broken strokes, creating texture and adding a unique touch to your artwork. Cold-pressed or rough paper works best for dry brushing, as it captures the beautiful textural effects effortlessly.
The Hardest Part? Waiting for Your Paper to Dry!
While the wet-on-dry technique offers incredible creative possibilities, it does require a bit of patience. The hardest part? Waiting for your paper to dry! So, embrace this opportunity to take a break, sip on a cup of coffee or tea, and let the magic unfold. Once the paper is dry, you can resume your painting with precision and enthusiasm.
Embrace the Wet-on-Dry Technique and Unleash Your Imagination
The wet-on-dry technique is a gateway to artistic exploration, offering control, detail, and vibrant colors. Whether you're a beginner or an experienced artist, this technique is sure to inspire and elevate your watercolor paintings. So, grab your brushes, prepare your paints, and dive into the world of wet-on-dry. Unleash your creativity and watch your artwork come to life with every brushstroke.