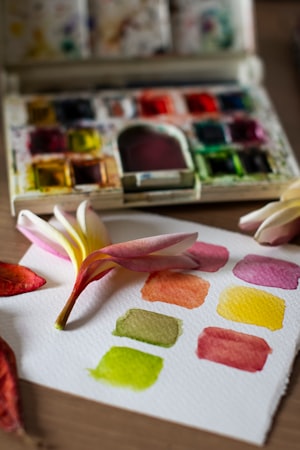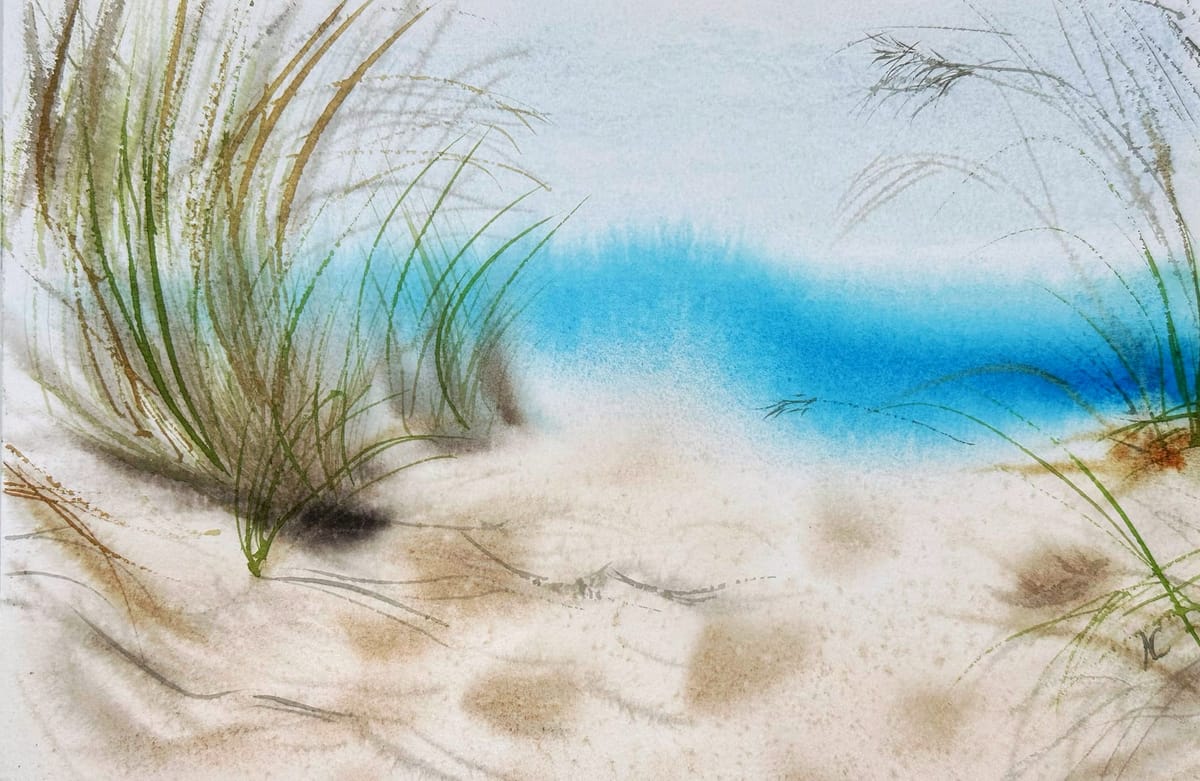
Painting a beach scene can be a delightful and rewarding experience, capturing the essence of sun, sand, and sea. Artists often debate between using multiple layers or a one-layer wet-on-wet technique. Each method has its unique advantages and challenges, offering different textures and depths to the artwork. In this blog post, we'll explore both techniques, helping you decide which approach best suits your artistic style.
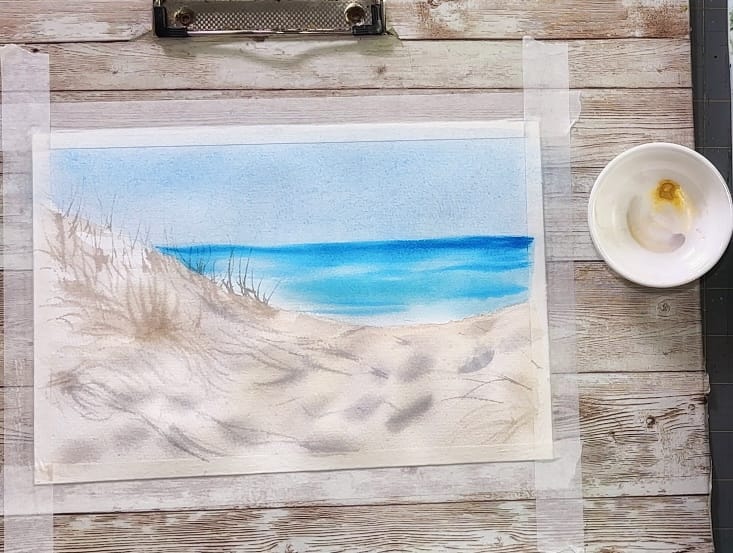
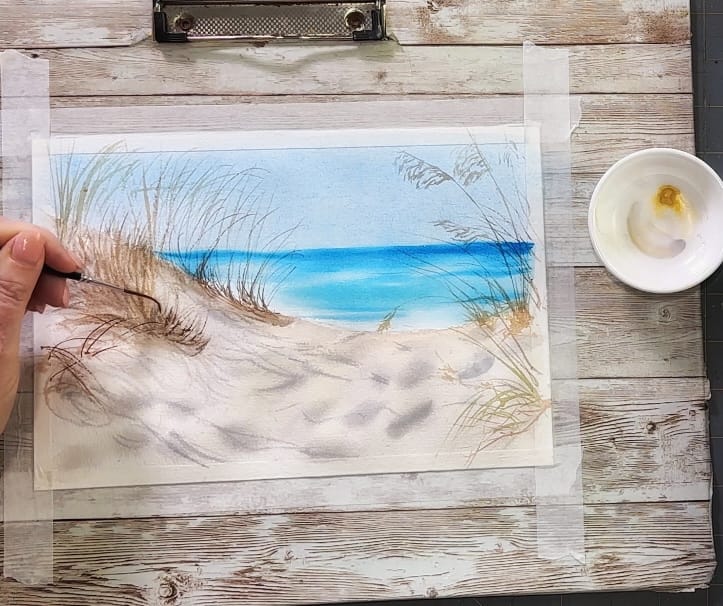
Multi-Layer Beach Scene
1. Planning and Sketching
- Begin with a sketch of your beach scene.
- Plan out your layers, starting with the background and gradually moving to the foreground.
2. Building the Layers
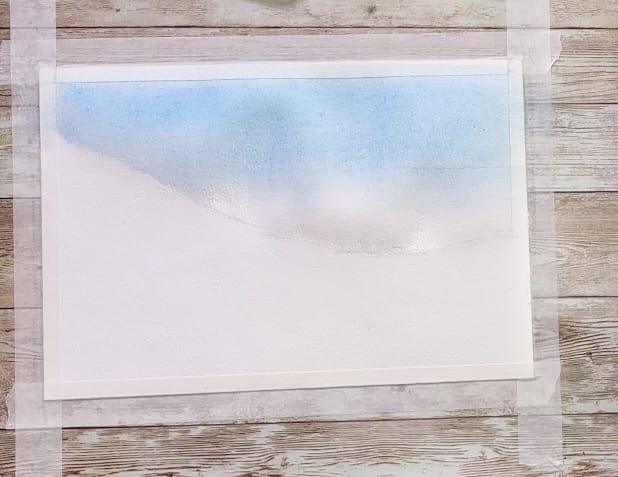
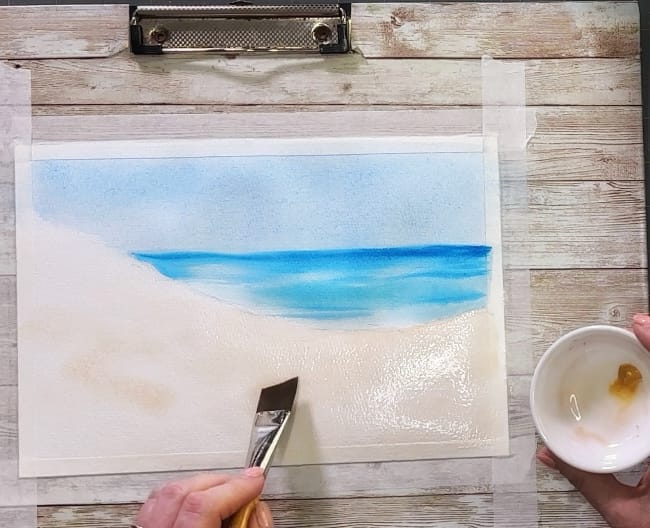
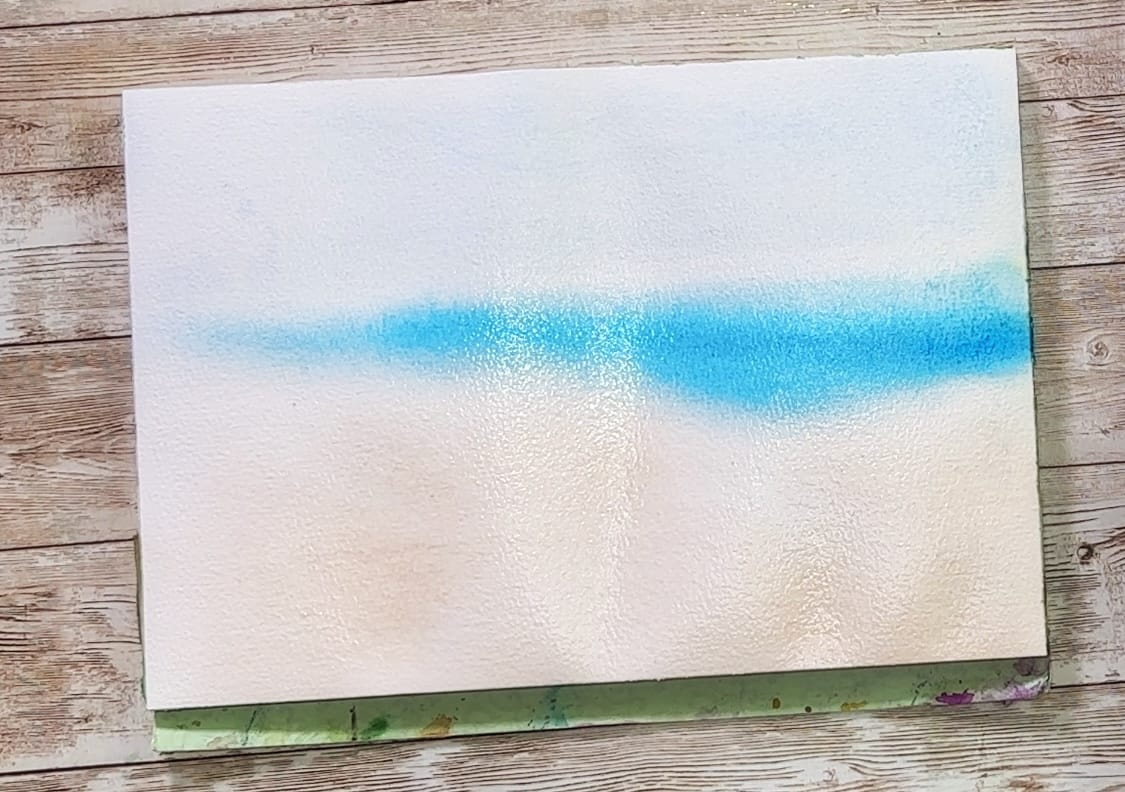
- Background: Start with the sky and distant ocean. Allow it to dry completely before moving to the next layer.
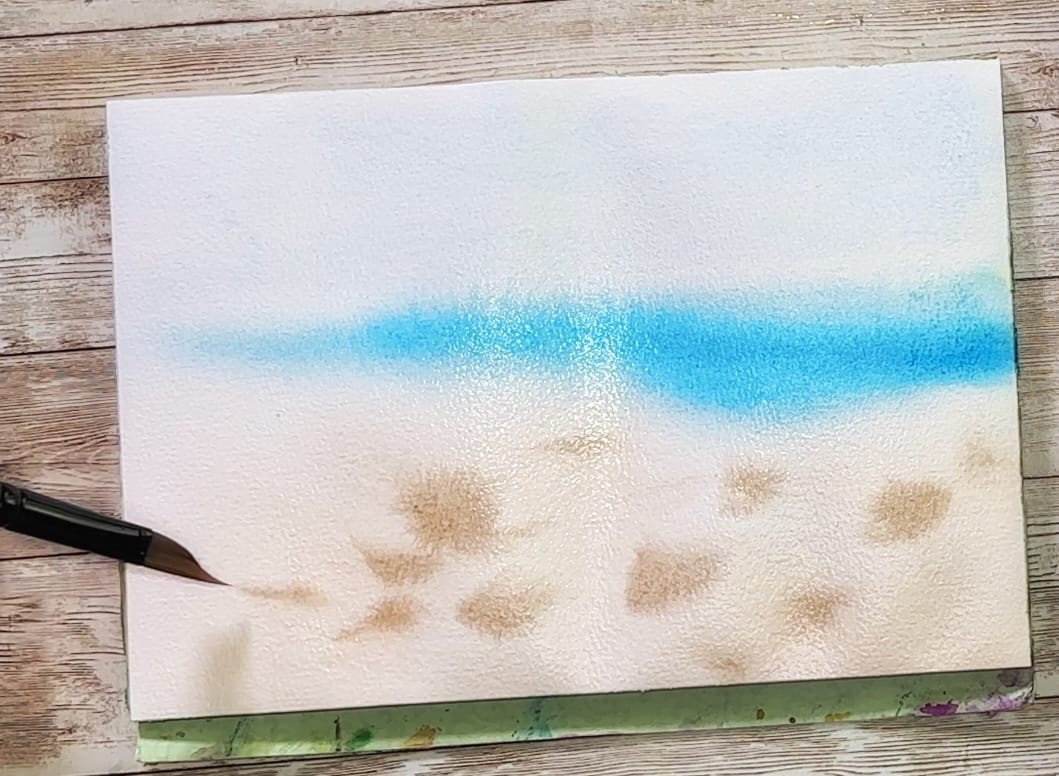
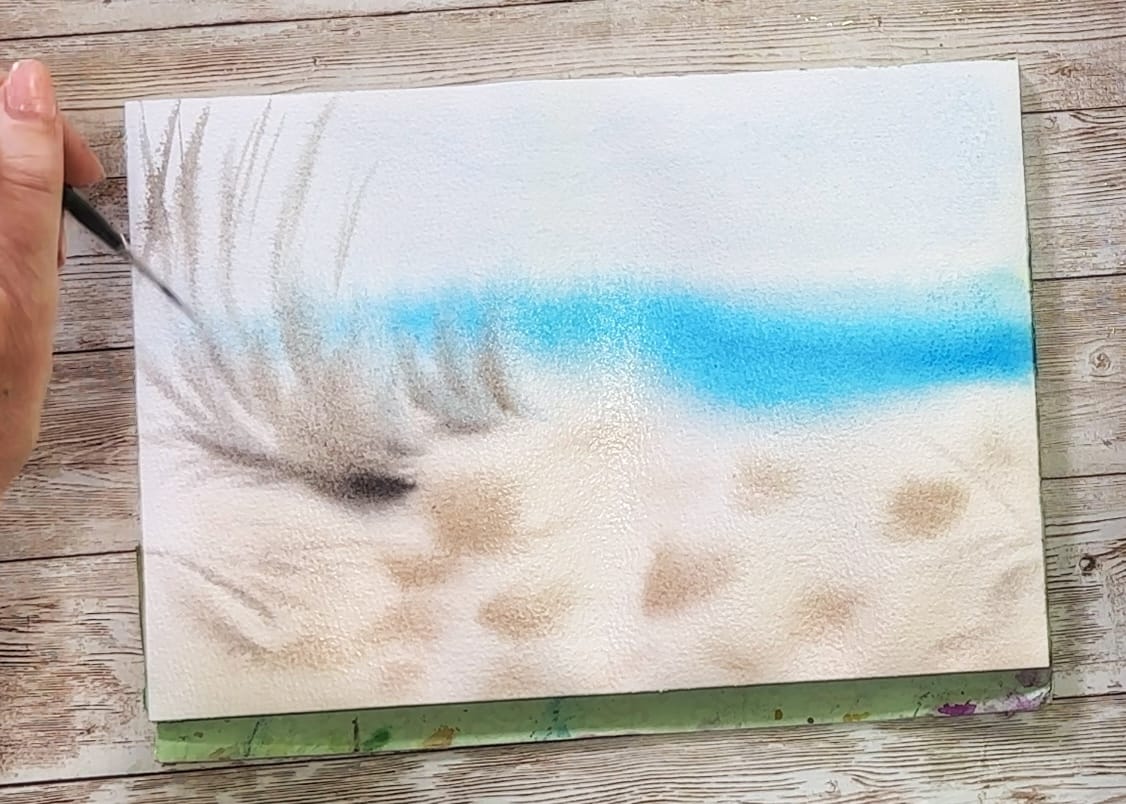
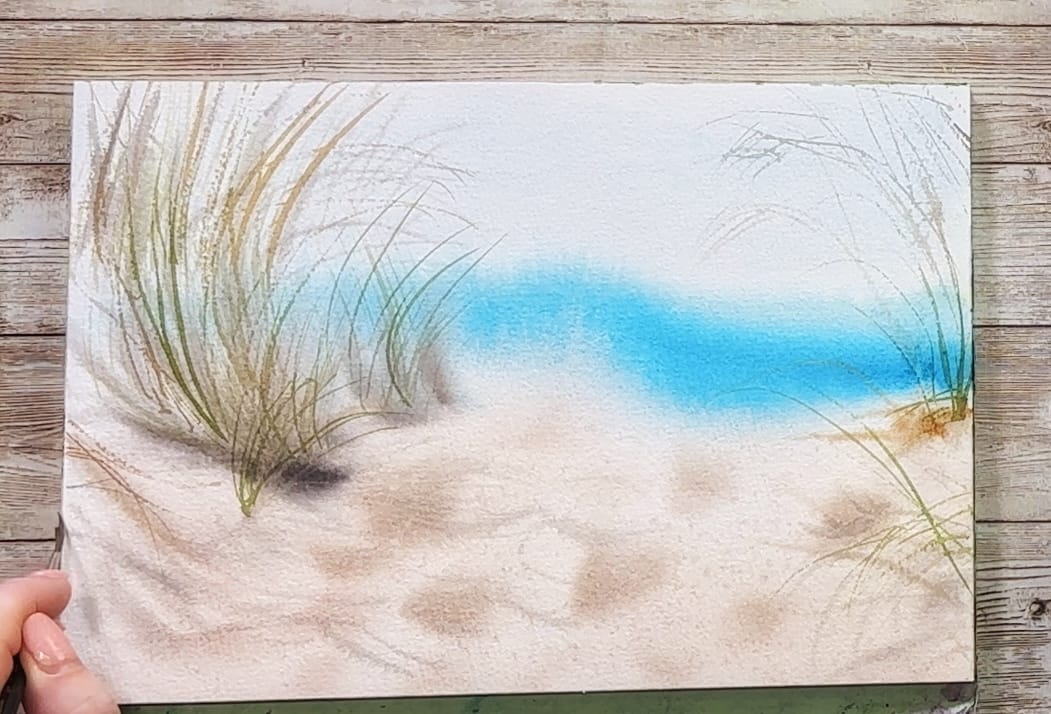
- Foreground: Add the sand, shadows, and seagrasses.
3. Drying Time
- Patience is crucial as each layer needs to dry thoroughly before the next is applied.
- Walk away take a break or use a hairdryer to speed up the process if necessary.
4. Adding Details
- Multiple layers allow for intricate details and textures.
- Use thin brushes for fine lines and small details, like the seagrasses or textures in the sand.
Advantages:
- Depth and Realism: Layering provides a more realistic representation of the beach scene with depth and texture.
- Detail: This allows for meticulous detailing, making the painting more lifelike.
Challenges:
- Time-Consuming: Each layer requires drying time, making the process longer.
- Complexity: Requires careful planning and precision to avoid mistakes.
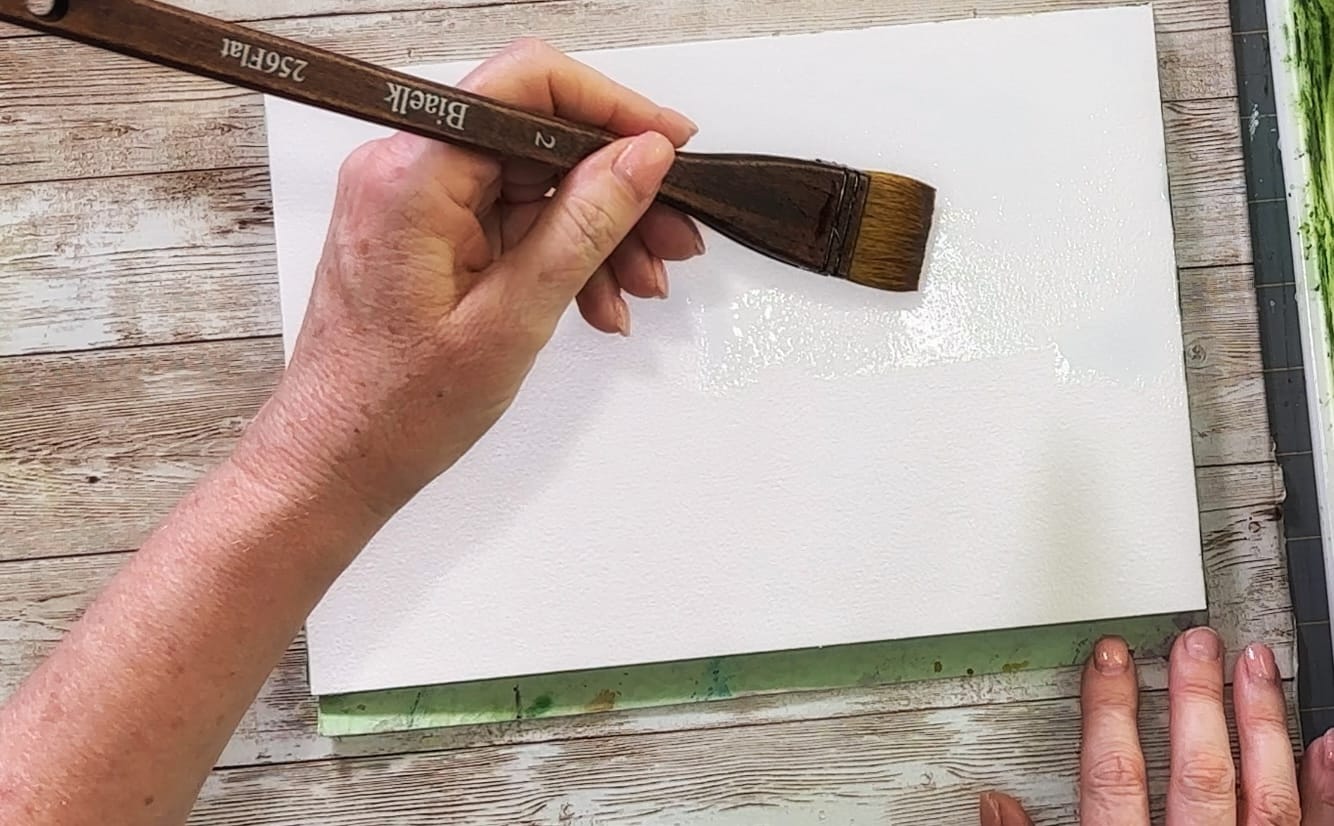
One-Layer Wet-on-Wet Beach Scene
1. Preparation
- Have all your colors and tools ready as you’ll need to work quickly.
- Prepare your paper by wetting it with fresh water.
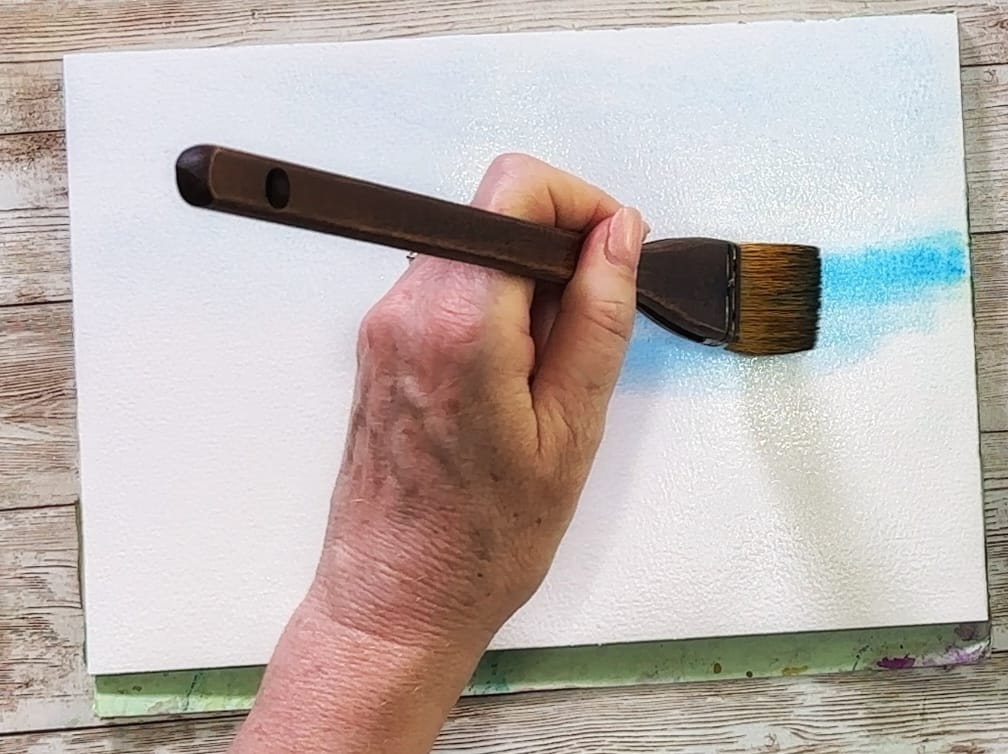
2. Painting Quickly
- Work from background to foreground without waiting for the paint to dry.
- Use broad strokes for the sky and sea, allowing colors to blend naturally.
3. Blending Colors
- Take advantage of the wet surface to blend colors directly on the paper.
- Use softer brushes to create smooth transitions and gradients.
4. Adding Details
- While the paint is still wet, add in your details. This requires a steady hand and quick decision-making.
- Be mindful that excessive blending can muddy the colors.
Advantages:
- Speed: The painting can be completed in one sitting, perfect for quick projects.
- Soft Blends: Creates beautiful, natural blends and gradients, ideal for skies and ocean waves.
Challenges:
- Less Control: Difficult to achieve fine details as the paint remains wet.
- Risk of Muddy Colors: Overworking the paint can result in muddy and less vibrant colors.
Choosing the Right Technique for You
Consider Your Goals:
- The multi-layer technique is your best bet if you aim for a highly detailed and realistic beach scene.
- The one-layer wet-on-wet technique is ideal for a more impressionistic and spontaneous look.
Evaluate Your Patience and Time:
- Use the multi-layer approach if you have the patience and time to let each layer dry.
- If you prefer a faster process and enjoy working quickly, try the wet-on-wet technique.
Experiment and Practice:
- Try both methods on small canvases to see which one you enjoy more.
- Combine techniques; for example, start with a wet-on-wet background and add details with layers once it’s dry.
Conclusion
Multi-layer and one-layer wet-on-wet techniques offer unique ways to create stunning beach scenes. Whether you choose the depth and detail of layered painting or the quick, seamless blends of wet-on-wet, the most important aspect is to enjoy the creative process. Happy painting!
🎨 Exclusive Member Perks Await! 🌈
Elevate your watercolor journey. By becoming a paid member, you'll unlock a host of exclusive benefits:
Bonus Video Tutorial: Dive deeper into the art of watercolor with an additional video tutorial every month, where we explore techniques and tricks to enhance your skills.
Digital Art Print: Receive a high-quality digital art print every month which you will be able to use as a screensaver, print it for your wall, or share it with loved ones – the choice is yours!
My deep gratitude and thanks for supporting my work so I can continue bringing you tutorials here and on YouTube 😄