Watercolor painting is a magical medium that allows for fluidity, transparency, and soft transitions between colors. If you’re just starting out, painting leaves can be a fantastic subject to help you practice blending colors using the wet-on-wet technique. This method involves adding wet paint onto wet paper, letting the colors merge naturally to create beautiful, organic transitions—perfect for the natural gradient seen in leaves.
In this blog post, we'll walk you through the essentials of painting watercolor leaves using the wet-on-wet technique to achieve realistic results.
Why Wet-on-Wet?
The wet-on-wet technique is perfect for beginners looking to paint leaves because it allows you to blend colors seamlessly on the paper without harsh lines. This method will help you create the soft, gradual transitions between greens, yellows, and even touches of red or brown that occur naturally in leaves. The technique also gives your leaves a fresh, lively appearance, full of depth and movement.
What You’ll Need
- Watercolor paper (cold press is ideal for texture and absorbing water)
- Watercolor paints (greens, yellows, blues, reds)
- Brushes (round brushes work best for leaves, sizes 4–6)
- Two jars of water (one for rinsing, one for clean water)
- Paper towel (for dabbing excess water or paint)
- Palette (for mixing colors)
Step-by-Step Guide: Painting Leaves with the Wet-on-Wet Technique
1. Prepare Your Colors
Before wetting the paper, decide on the color palette for your leaves. Moisten the colors you will be using for your leaves and make small puddles of each color so they are well mixed and ready to go.

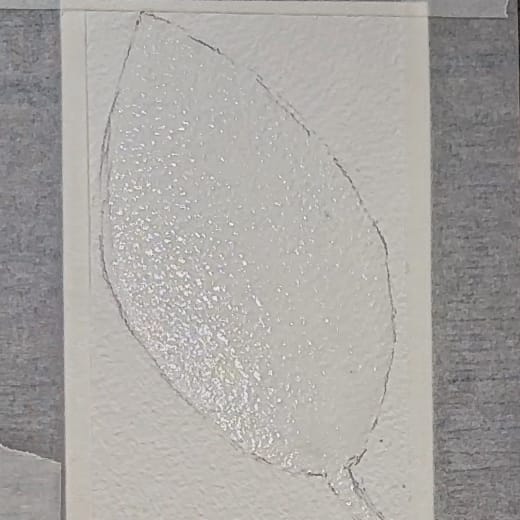
2. Wet the Paper
Using clean water, lightly wet the area of the paper where you plan to paint your leaf. Be careful not to over-soak the paper; you want it to be damp, not puddling. This wet layer is what will allow the paint to flow and blend smoothly.
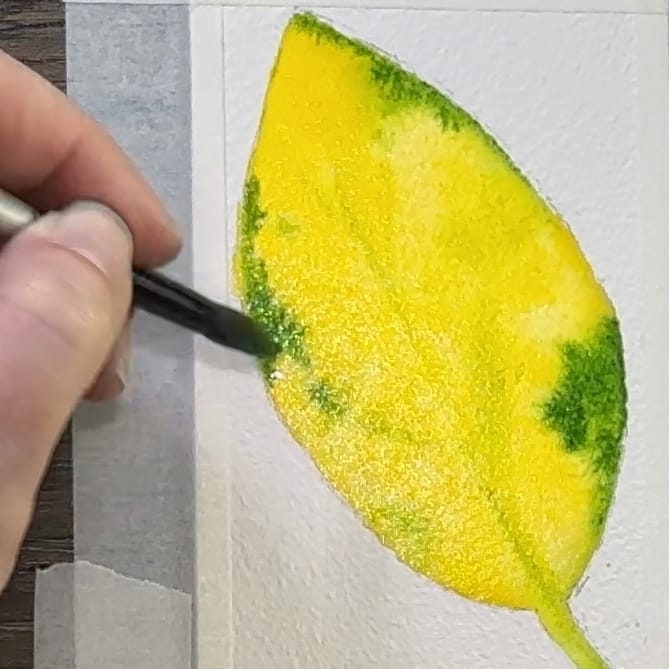
3. Lay Down the Base Color
While the paper is still wet, dip your brush into a color of your choice and gently apply it to the wet paper. The paint should spread naturally, filling in the shape of your leaf. Don’t worry about precise edges at this point—the water will naturally soften the borders.
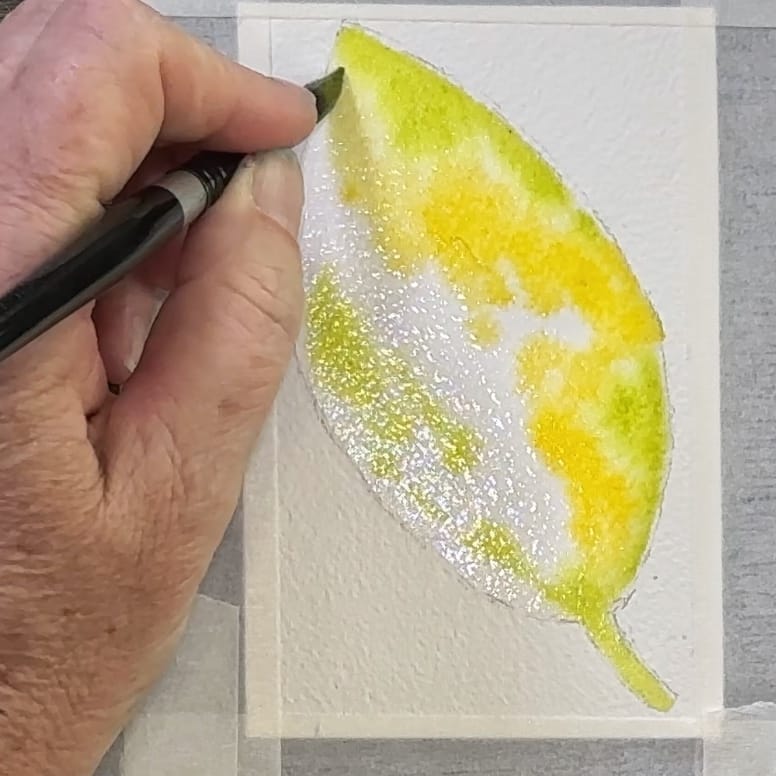
4. Add Variations of Color
While the base is still wet, drop in other colors to add dimension and realism to the leaf. For example:
- Yellow: Add to the areas where light would hit the leaf, usually the upper portions or edges.
- Darker Green or Blue: Drop in these colors at the base or along the veins of the leaf to indicate shadows.
- Reddish Brown: You can even add touches of warm colors to the tips or along the edges to give a hint of seasonal change.
The wet-on-wet technique will allow these colors to softly blend together, mimicking the natural transitions seen in real leaves.
5. Let the Water and Paint Do the Work
One of the beauties of the wet-on-wet technique is letting the paint flow and blend on its own. Resist the urge to overwork the painting. Sometimes, the best results come from stepping back and letting the water naturally mix the colors.
6. Add Details just before the paint dries.
Once you have applied your colors to your leaf you can add details such as veins, sharper edges, or additional layers of color. Using a fine-tipped brush, apply a darker green or brown to draw in the main veins of the leaf. Keep these lines subtle to avoid overpowering the soft blends underneath. The trick here is also to make sure you do not have too much moisture on your brush or you may get a bloom due to the drying paper.

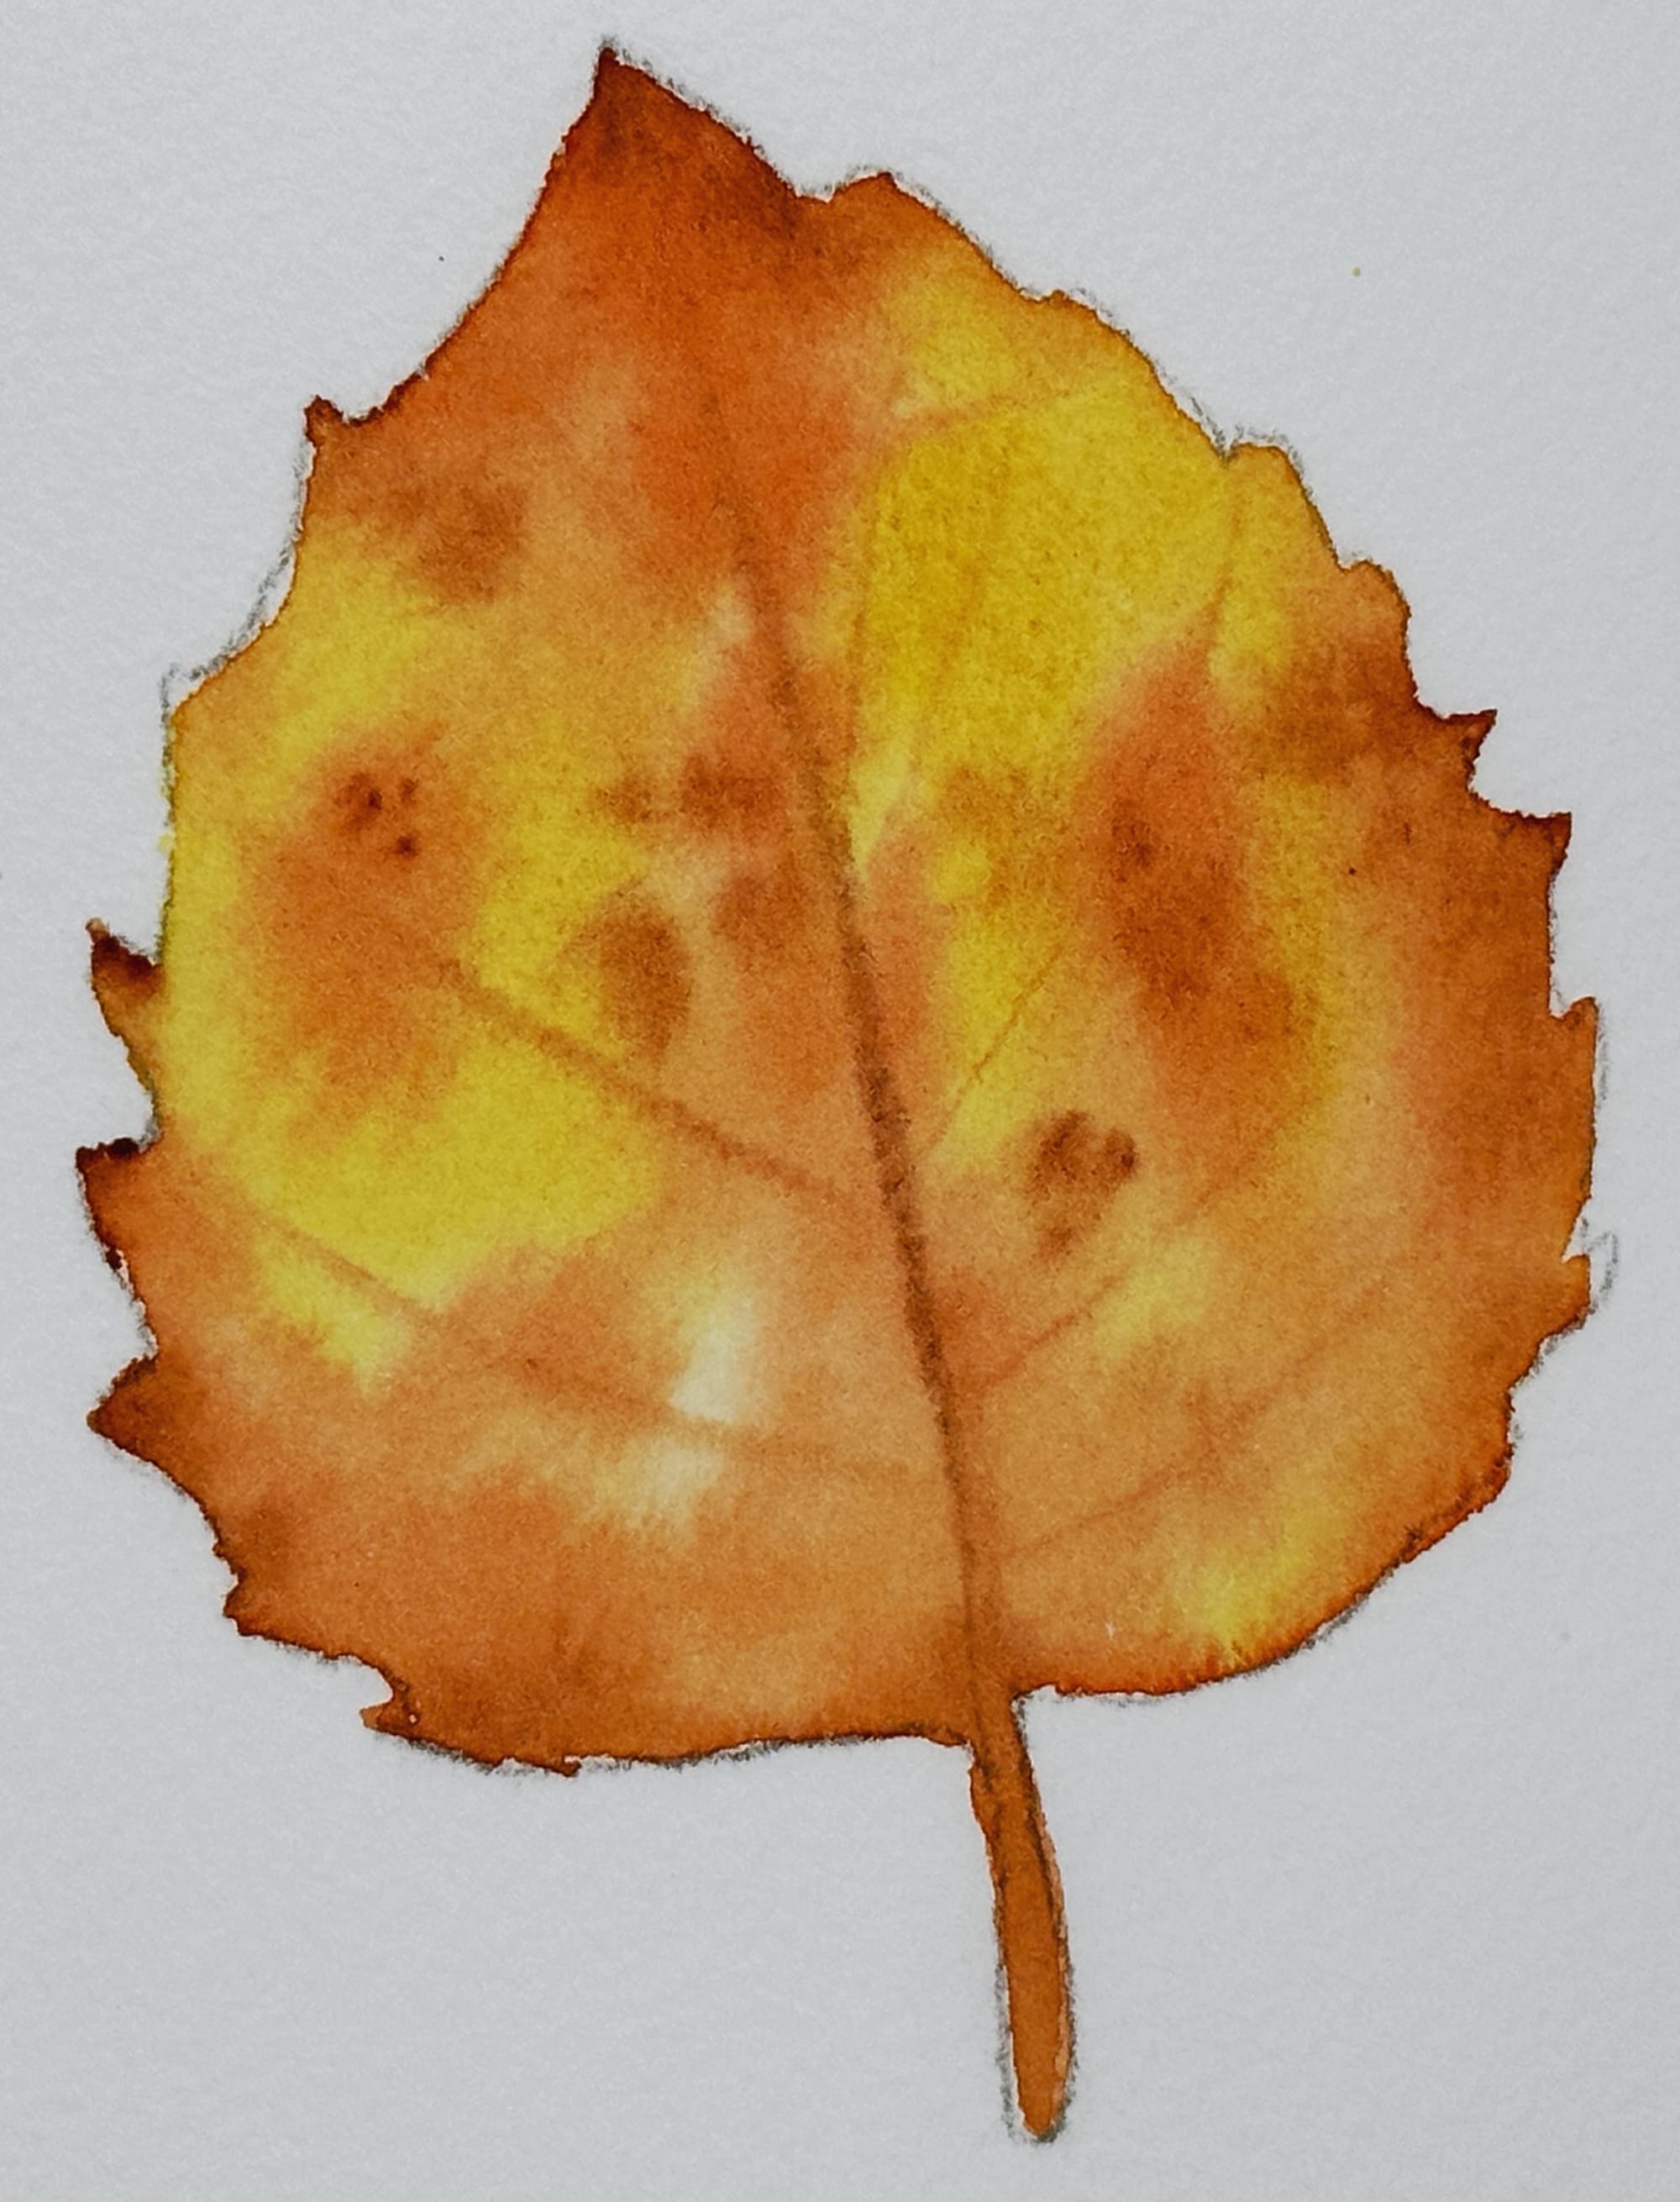
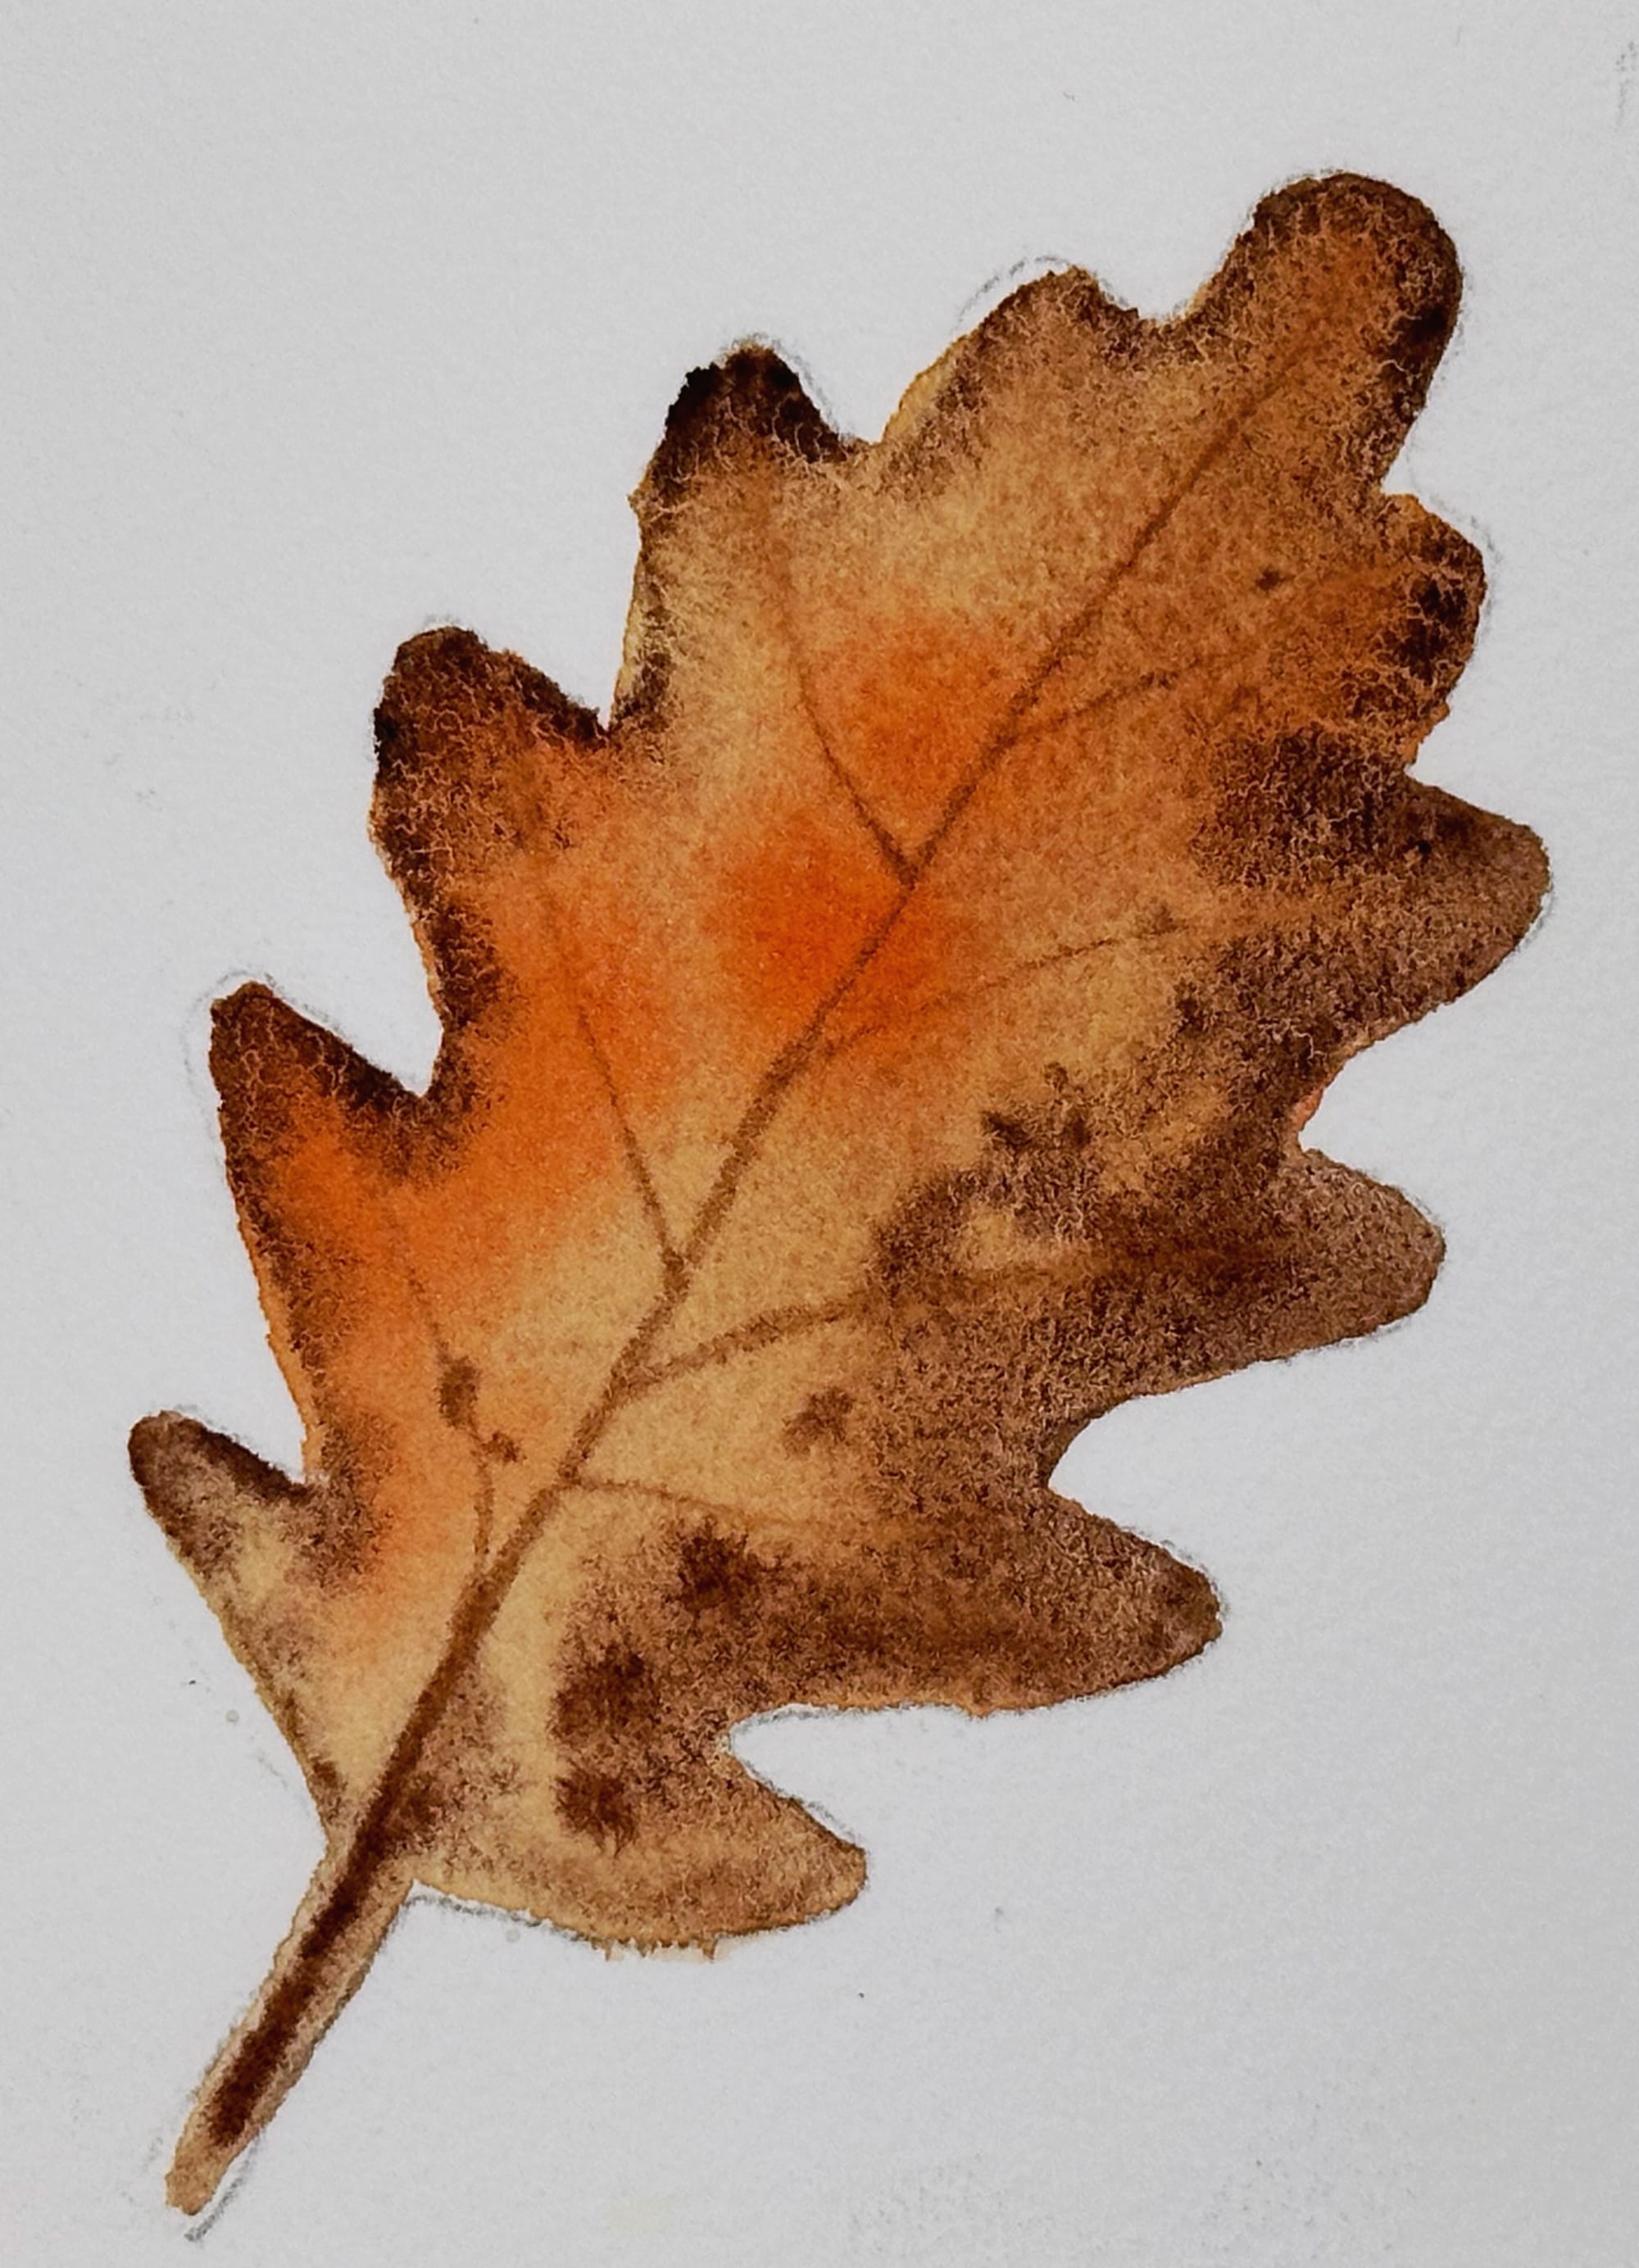
7. Experiment with Shapes and Sizes
Not all leaves are created equal, and neither should yours be! Try painting various types of leaves—broad oak leaves, long slender willow leaves, or heart-shaped ivy. Each one will have a unique way of blending colors, so experiment with different shapes and practice how the paint reacts to the wet surface.

Tips for Success
- Work quickly: The wet-on-wet technique requires speed before the paper dries, so have your colors ready beforehand.
- Don’t over-saturate: Too much water will cause the paint to pool, creating unwanted textures. Keep your paper damp, not soaking.
- Be patient: Watercolor often requires waiting for the paint to settle as your paper dries. Enjoy the process and let the water create natural effects.
- Practice blending: If your colors aren’t blending smoothly, try different consistencies of water and paint. A little practice goes a long way!
Final Thoughts
Painting leaves with the wet-on-wet technique is a fantastic way for beginners to practice blending colors on paper. The flowing nature of this technique captures the organic beauty of leaves and can help you improve your control over water, pigment, and timing.
So grab your brushes, mix those greens and yellows, and dive into the serene world of watercolor leaves. Remember, no two leaves are exactly alike, and that’s what makes them—and your art—so special!
Happy painting!
Feel free to share your progress or any questions you have in the comments below. We'd love to see your leaf creations!
🎨 Exclusive Member Perks Await! 🌈
Elevate your watercolor journey. By becoming a paid member, you'll unlock a host of exclusive benefits:
Bonus Video Tutorial: Dive deeper into the art of watercolor with an additional video tutorial every month, where we explore techniques and tricks to enhance your skills.
My deep gratitude and thanks for supporting my work so I can continue bringing you tutorials here and on YouTube 😄